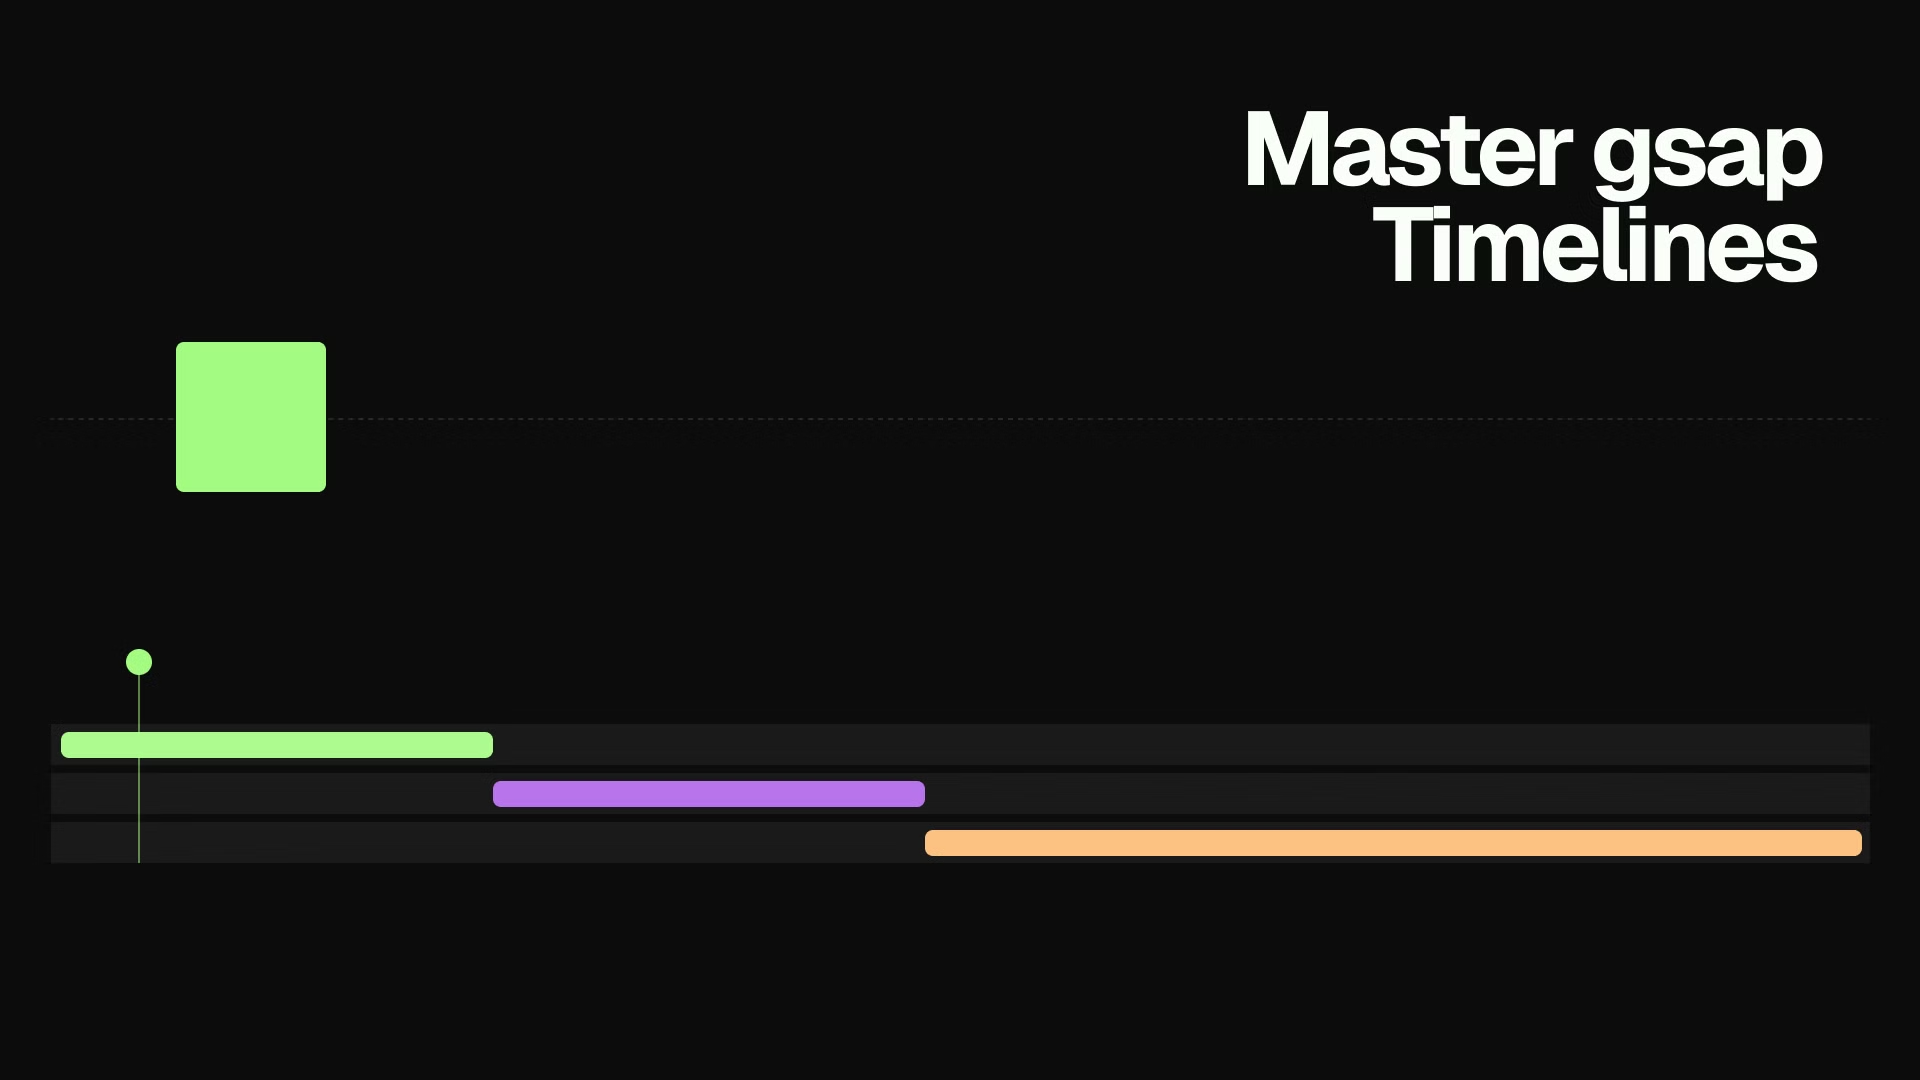
GSAP Timeline Tutorial: Sequence Animations Like a Pro (2026)
Learn how to use gsap.timeline() to sequence animations with precision. Covers the position parameter, defaults, labels, playback control, and real-world examples.
Estimated reading time: 10 minutes | Skill level: Beginner to Intermediate
The first time I tried to sequence multiple GSAP animations, I did it withdelaygsap.timeline()In this tutorial you'll learn:
- How to create a GSAP timeline and add tweens to it
- The position parameter (the single most powerful concept in GSAP)
- How to use defaults, labels, and playback control
- A real-world card reveal example you can use today
The Problem with Using Delay
Here's what animation sequencing looks like without timelines:
gsap.to(".title", { y: 0, opacity: 1, duration: 0.6 });
gsap.to(".subtitle", { y: 0, opacity: 1, duration: 0.6, delay: 0.7 });
gsap.to(".button", { y: 0, opacity: 1, duration: 0.6, delay: 1.4 });
gsap.to(".image", { scale: 1, opacity: 1, duration: 0.8, delay: 0.3 });
This works at first. But every delay is hardcoded. If you change the title animation to 0.8s, you need to manually update the subtitle delay, the button delay, and anything else downstream. It gets messy fast.
GSAP timelines fix this completely.
Creating Your First Timeline
A timeline is a container for tweens. Everything inside it plays in sequence by default.
const tl = gsap.timeline();

tl.to(".title", { y: 0, opacity: 1, duration: 0.6 })
  .to(".subtitle", { y: 0, opacity: 1, duration: 0.6 })
  .to(".button", { y: 0, opacity: 1, duration: 0.6 });
Now each tween starts automatically when the previous one ends. Change the title duration and everything adjusts. No manual delay math.
You can also add each tween on its own line (the result is identical):
const tl = gsap.timeline();
tl.to(".title", { y: 0, opacity: 1, duration: 0.6 });
tl.to(".subtitle", { y: 0, opacity: 1, duration: 0.6 });
tl.to(".button", { y: 0, opacity: 1, duration: 0.6 });
Visual: PLACEHOLDER - Diagram showing three sequential tweens on a timeline bar, each starting when the previous ends
The Position Parameter
This is the part most tutorials skip. The position parameter is the third argument on any timeline tween, and it controls exactly when that tween starts.
tl.to(".element", { x: 100, duration: 1 }, position);
Here's every form it can take:
Absolute Time
tl.to(".a", { x: 100, duration: 1 }, 0);    // starts at 0 seconds
tl.to(".b", { y: 50, duration: 1 }, 1.5);   // starts at 1.5 seconds
Relative to the Previous Tween's End
tl.to(".a", { x: 100, duration: 1 });
tl.to(".b", { y: 50, duration: 1 }, "+=0.5");   // 0.5s after .a ends
tl.to(".c", { opacity: 0, duration: 1 }, "-=0.3"); // 0.3s before .b ends (overlap)
"-=0.3"Relative to the Previous Tween's Start
tl.to(".a", { x: 100, duration: 1 });
tl.to(".b", { y: 50, duration: 0.5 }, "<");     // same start time as .a
tl.to(".c", { opacity: 0, duration: 1 }, "<0.2"); // 0.2s after .a starts
"<"Visual: PLACEHOLDER - Side-by-side timeline diagrams showing sequential vs overlapping tweens using position parameter
Practical Example of the Position Parameter
Here's a card entrance with a staggered but overlapping feel:
const tl = gsap.timeline({ paused: true });

// Image scales up
tl.from(".card-image", { scale: 0.9, opacity: 0, duration: 0.8, ease: "power3.out" });

// Title starts 0.2s before image finishes (feels connected)
tl.from(".card-title", { y: 20, opacity: 0, duration: 0.6, ease: "power3.out" }, "-=0.2");

// Body text starts when title starts (parallel)
tl.from(".card-body", { y: 20, opacity: 0, duration: 0.6, ease: "power3.out" }, "<0.1");

// Button slides in last
tl.from(".card-button", { y: 10, opacity: 0, duration: 0.5, ease: "power3.out" }, "-=0.2");
Compare this to what the same thing looks like with raw delays. The timeline version is cleaner and trivial to adjust.
Timeline Defaults
If all your tweens share the same duration and easing, pass them as defaults on the timeline:
const tl = gsap.timeline({
  defaults: {
    duration: 0.6,
    ease: "power3.out"
  }
});

// Each tween inherits duration and ease
tl.from(".title", { y: 30, opacity: 0 })
  .from(".subtitle", { y: 20, opacity: 0 })
  .from(".button", { y: 15, opacity: 0 });
duration: 1This is a small thing that makes a real difference when you have 10+ tweens in a timeline.
Labels
Labels mark specific points in a timeline by name. They make complex sequences readable and let you seek to specific moments.
const tl = gsap.timeline();

tl.addLabel("intro", 0);
tl.from(".hero-text", { y: 40, opacity: 0, duration: 0.8 }, "intro");
tl.from(".hero-image", { scale: 0.95, opacity: 0, duration: 1 }, "intro+=0.2");

tl.addLabel("details", "+=0.5");
tl.from(".detail-1", { x: -20, opacity: 0, duration: 0.5 }, "details");
tl.from(".detail-2", { x: -20, opacity: 0, duration: 0.5 }, "details+=0.15");
tl.from(".detail-3", { x: -20, opacity: 0, duration: 0.5 }, "details+=0.3");
Now instead of magic numbers, the sequence reads like a script. You can also play from a label:
tl.play("details"); // jump to the "details" section and play
This is useful for multi-step UI flows where you need to navigate to specific states.
Playback Control
Every timeline gives you full control over playback:
const tl = gsap.timeline({ paused: true }); // create paused

// Trigger on user interaction
button.addEventListener("click", () => tl.play());

// Other controls
tl.pause();
tl.reverse();
tl.restart();
tl.progress(0.5);   // jump to 50%
tl.time(1.5);       // jump to 1.5 seconds
tl.kill();          // destroy it
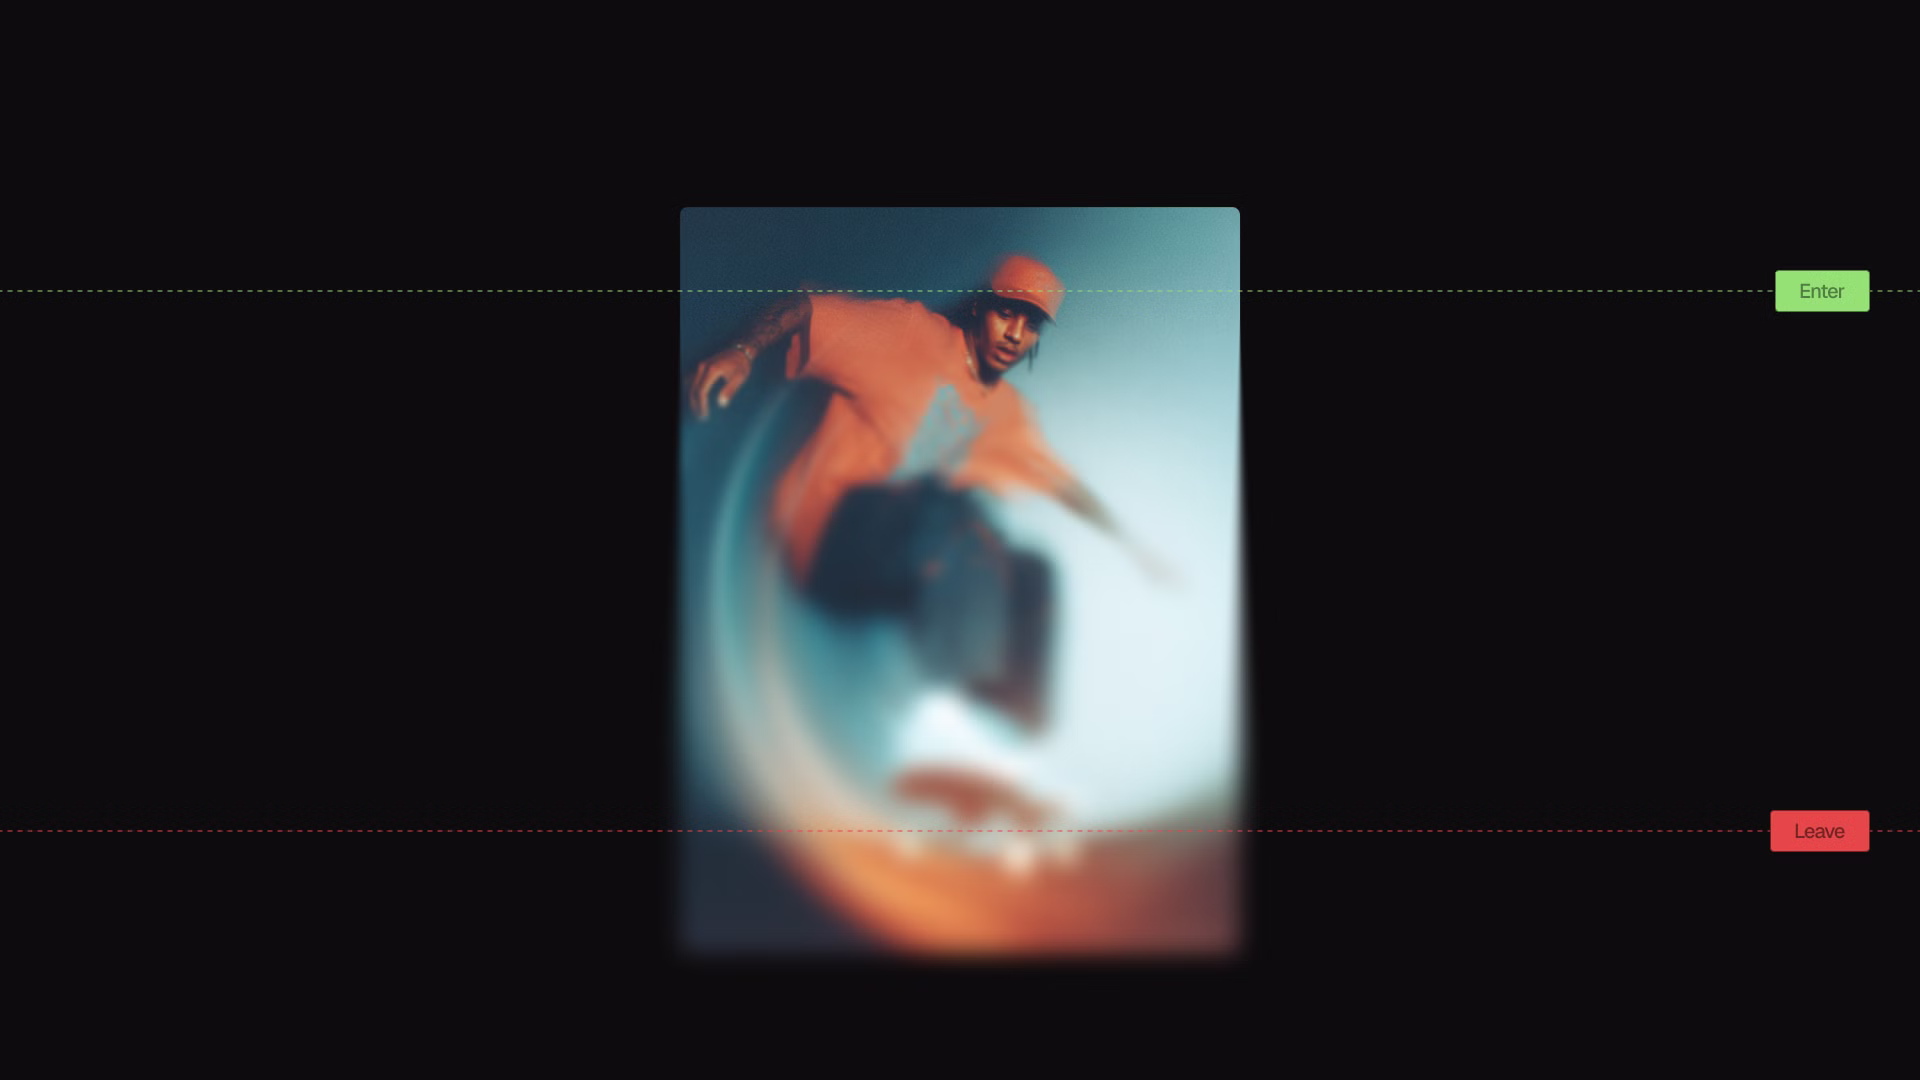
paused: trueconst card = document.querySelector(".card");
const tl = gsap.timeline({ paused: true });
tl.to(".card-overlay", { opacity: 1, duration: 0.4 })
.to(".card-label", { y: 0, opacity: 1, duration: 0.3 }, "-=0.1");
card.addEventListener("mouseenter", () => tl.play());
card.addEventListener("mouseleave", () => tl.reverse());
tl.reverse()Visual: PLACEHOLDER - Code example showing hover animation with play/reverse using timeline
Timeline Options
A few constructor options worth knowing:
const tl = gsap.timeline({
  paused: true,          // start paused
  repeat: -1,            // loop forever (-1 = infinite)
  yoyo: true,            // alternate direction on each repeat
  delay: 0.5,            // wait 0.5s before starting
  defaults: { duration: 0.5, ease: "expo.out" },
  onComplete: () => console.log("done"),
  onStart: () => console.log("started")
});
repeatyoyoNesting Timelines
Timelines can contain other timelines. This is useful for building reusable animation modules.
function cardEntrance(card) {
  const tl = gsap.timeline();
  tl.from(card.querySelector(".image"), { scale: 0.9, opacity: 0, duration: 0.7 });
  tl.from(card.querySelector(".title"), { y: 20, opacity: 0, duration: 0.5 }, "-=0.2");
  return tl;
}

const master = gsap.timeline();
master.add(cardEntrance(card1), 0);
master.add(cardEntrance(card2), 0.3);
master.add(cardEntrance(card3), 0.6);
Each card gets its own encapsulated animation, and the master timeline controls when each one starts. The position parameter still works the same way when adding child timelines.
A Real-World Example: Page Section Reveal
Here's how I'd animate a typical marketing section with a heading, subtext, and a row of feature cards:
function animateSection(section) {
  const tl = gsap.timeline({
    scrollTrigger: {
      trigger: section,
      start: "top 75%",
      once: true
    },
    defaults: {
      ease: "power3.out",
      duration: 0.7
    }
  });

  tl.from(section.querySelector(".section-label"), {
    y: 10,
    opacity: 0
  });

  tl.from(section.querySelector(".section-heading"), {
    y: 30,
    opacity: 0,
    duration: 0.9
  }, "-=0.3");

  tl.from(section.querySelector(".section-body"), {
    y: 20,
    opacity: 0
  }, "-=0.4");

  tl.from(section.querySelectorAll(".feature-card"), {
    y: 30,
    opacity: 0,
    stagger: 0.1
  }, "-=0.3");

  return tl;
}
A few things to notice here:
- on ScrollTrigger means the animation fires once and stays. No replay on scroll up.
once: true - keeps all the tweens consistent without repeating the same values.
defaults - The overlapping positions (,
"-=0.3") create flow. Nothing feels abrupt."-=0.4" - on the cards makes them cascade without needing individual tweens.
stagger: 0.1
If you're not familiar with ScrollTrigger yet, I wrote a full guide: GSAP ScrollTrigger Examples: 10 Patterns for Real Projects.
Common Mistakes
Using delay instead of the position parameter. Once you understand position, delay on individual tweens inside a timeline is almost never the right choice.
Forgetting paused: true
Putting ScrollTrigger on tweens inside a timeline. ScrollTrigger should go on the timeline itself, not on child tweens. Putting it inside breaks the sequencing.
// Wrong
const tl = gsap.timeline();
tl.to(".box", { x: 100, scrollTrigger: { trigger: ".box" } }); // don't do this

// Right
const tl = gsap.timeline({
  scrollTrigger: { trigger: ".container", start: "top 80%" }
});
tl.to(".box", { x: 100 });
Skipping defaults when all tweens share the same ease/duration. It's not a bug, just unnecessary repetition.
Key Takeaways
- Use to sequence animations. Delays are fragile. Timelines aren't.
gsap.timeline() - The position parameter (,
"-=0.2","<") is the most powerful feature. Learn it first.0 - Pass to the timeline to avoid repeating duration and ease on every tween.
defaults - Create timelines with for interactive animations and trigger them with
paused: trueandplay().reverse() - ScrollTrigger goes on the timeline, not on tweens inside it.
What's Next
If you're building scroll animations, the timeline + ScrollTrigger combination is where things get interesting. I covered 10 production-ready patterns in GSAP ScrollTrigger Examples.
For text animations specifically, GSAP SplitText Guide covers character and line-level reveals that work well inside timelines.
If you want to skip the setup and grab ready-to-use animations built with exactly these patterns, browse the Annnimate library. Every animation includes the full timeline code.
Written by
Julian Fella
Founder
Related reading
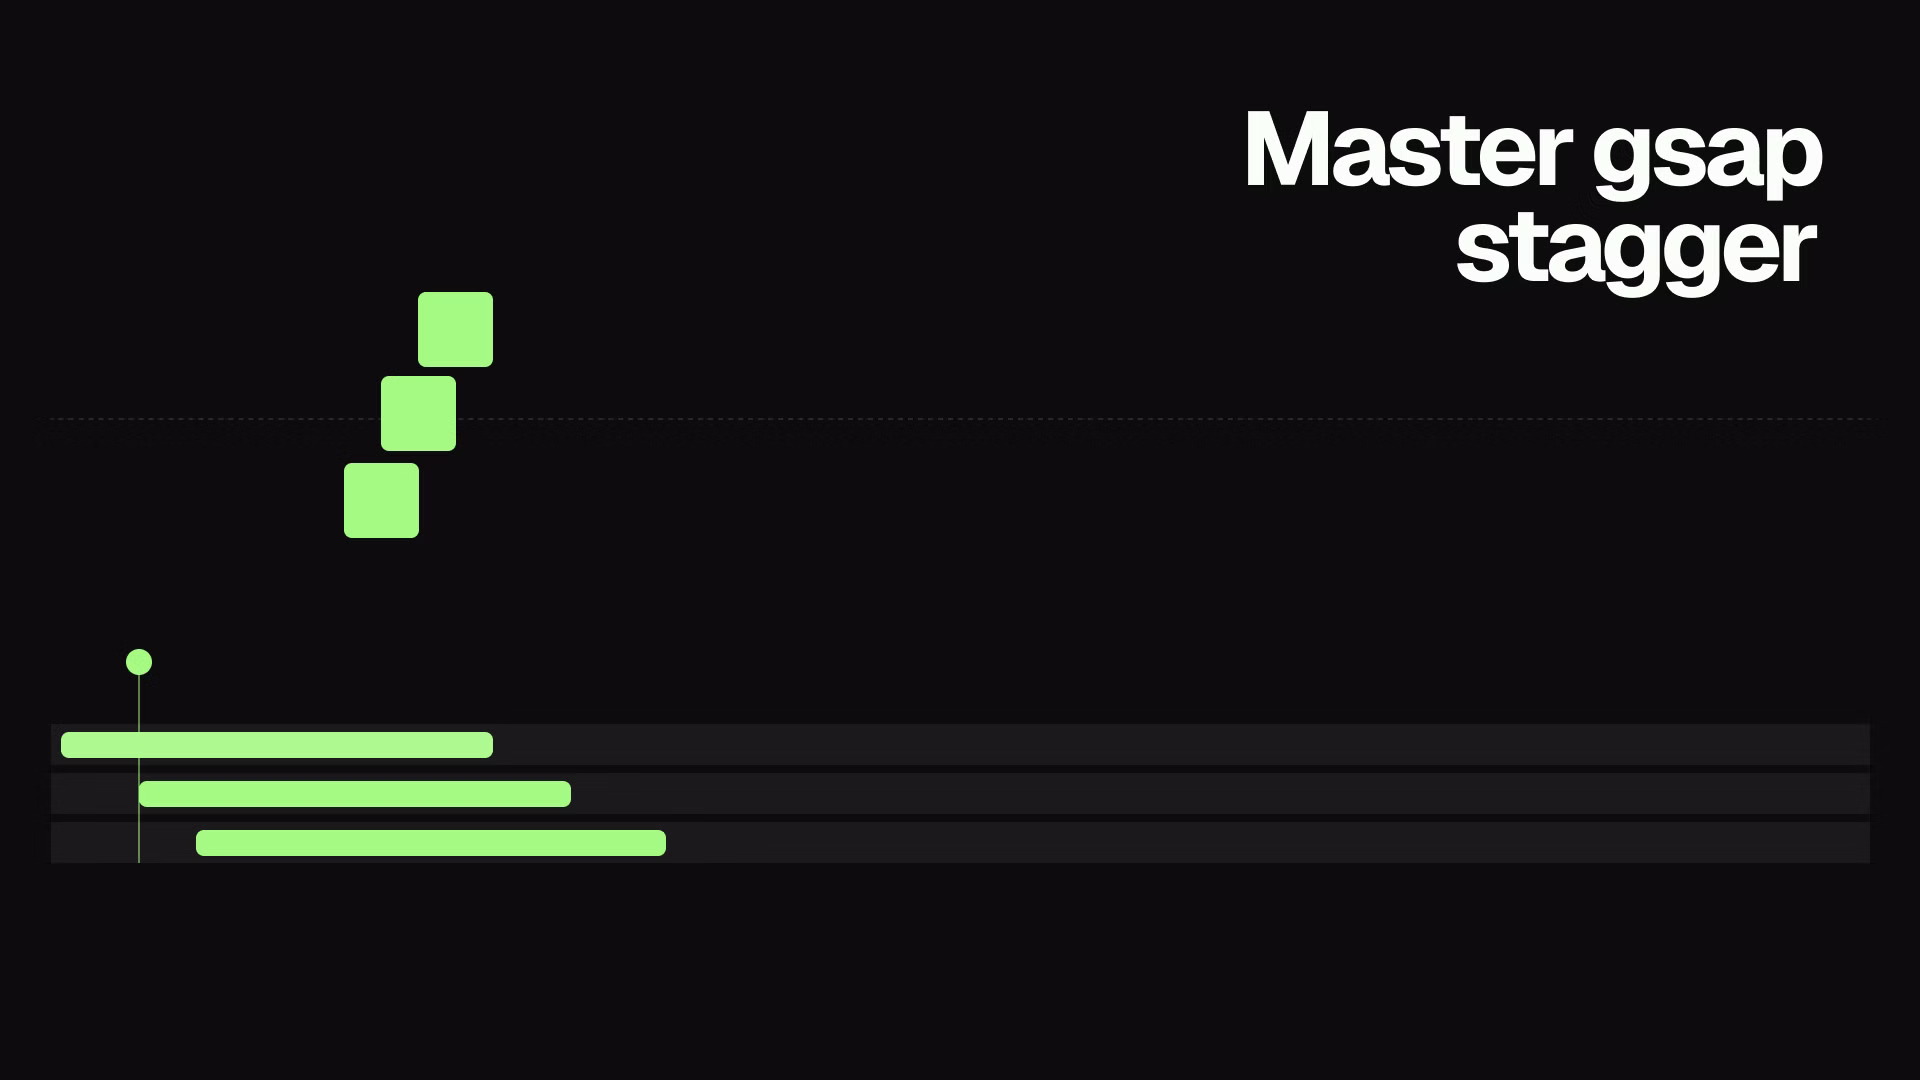
GSAP Stagger: Animate Lists and Grids with Rhythm (2026)
Learn how to use GSAP stagger to animate multiple elements with perfect timing. Covers basic stagger, advanced object syntax, from options, and real-world grid reveals.
GSAP ScrollTrigger Examples: 10 Scroll Animations You Can Use Today
Ten production-ready GSAP ScrollTrigger patterns: fade reveals, parallax, text effects, SVG drawing, mask reveals, and flip animations. Copy-paste code for each.
GSAP Text Animation: A Practical SplitText Guide (2026)
How to animate text with GSAP SplitText. Covers chars, words, and lines with scroll-triggered reveals, stagger, and mask effects. Copy-paste examples included.